
RAD Studio v10.4.1 free download
Download RAD Studio v10.4.1 to experience the fastest way to write, compile, package, and develop cross-platform software. With RAD Studio, you can publish your product for Windows, Mac, mobile, .NET, PHP, and the web, making it a complete software platform for multi-device development.
More Info
Get the Architect version of RAD Studio, the best version of this collection, and start designing cross-platform applications quickly with the RAD Studio IDE. As a set of development tools that includes Delphi, C++ Builder, Embarcadero Prism, and HTML5 Builder, RAD Studio is perfect for developers looking for a comprehensive package.
Try RAD Studio today and discover why it's the ultimate solution for software development. With its object-oriented programming language and framework, you can create high-quality applications with ease. Download now and start developing cross-platform software with RAD Studio.
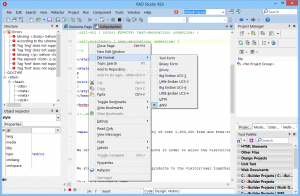
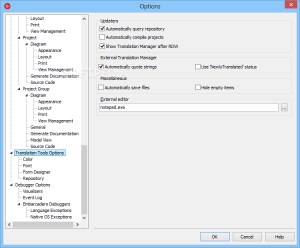
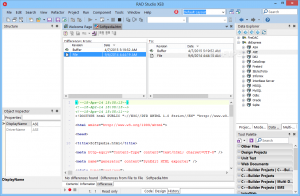
Screenshots


Download Links
Installation Guide
Download and watch the tutorial for installing RAD Studio 10.2.3 Tokyo with direct link
RAD Studio 10.2.3 Tokyo installation guide:
1) Extract the compressed files using WinRar. Run the resulting ISO file using a program like Daemon Tools.
2) Accept the installation conditions and click Next. On the next page, you will be asked for a serial number. Go back to the previous step (where you accepted the conditions).
3) Go to the KeyGen folder and run the executable file as Run as Administrator. In the KeyGen environment, click Generate to display a success message.
Warning! Do not close the KeyGen until the installation and activation are complete.
4) Return to the software installation window. Click Next again. If you have completed step 3 correctly, you will no longer be prompted for a serial number.
5) After installation is complete, click Patch in the KeyGen environment (from step 3).
6) You are done. You can now run the software.